
Planning a Fixed Indoor LED Install: Lobbies, Retail
Planning a Fixed Indoor LED Install: How to plan a LED display install — pitch, brightness, mounting, front-service access, and handover checklist for lobbies, retail and boardrooms.
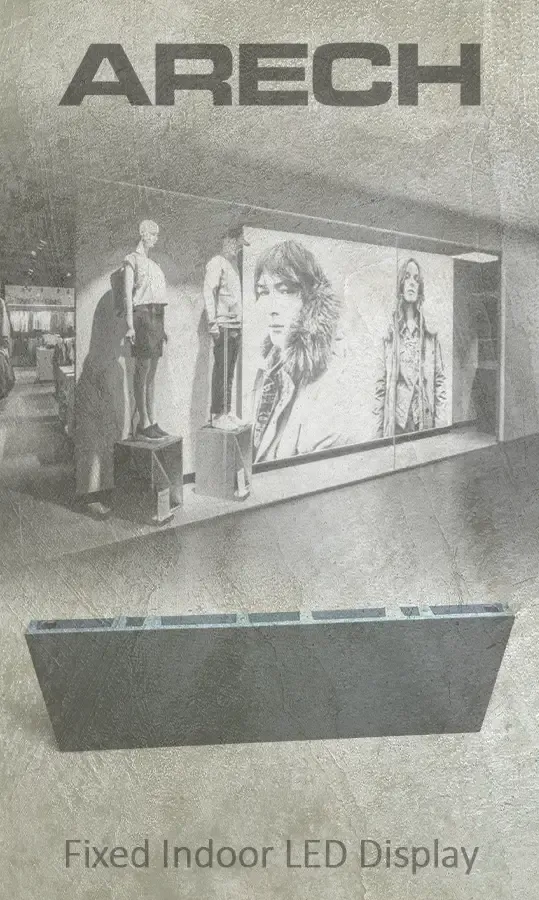
Planning a Fixed Indoor LED Install: A fixed indoor LED screen goes on the wall and stays there for years, so the planning decisions are the ones you live with. Get the pixel pitch, the room brightness, and the service access right before the first cabinet goes up and you avoid a costly re-do. This guide walks through the choices that matter on a permanent indoor install, from spec to handover.
Start With Viewing Distance and Pixel Pitch
Pixel pitch sets the closest distance from which the image looks clean. For a fixed indoor install, that means asking one question first: where does the nearest regular viewer stand?
ARECH's indoor fixed range covers pitches from P1.25 through P4.8. As a working rule, the minimum comfortable viewing distance in metres is roughly equal to the pixel pitch in millimetres — so a P2.6 wall is comfortable from around 2.5 metres back, while a P4.8 panel is built for viewers at 4 to 5 metres or more.
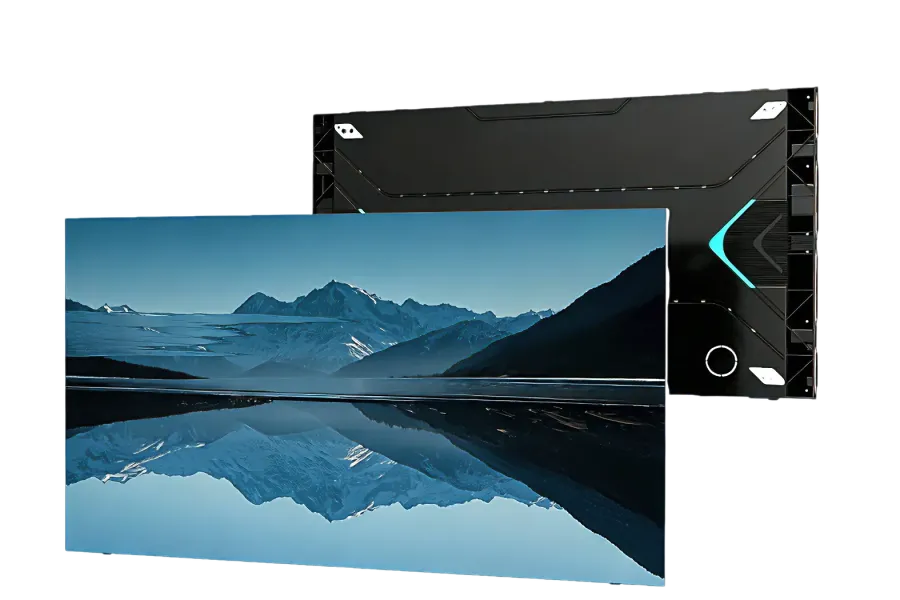
For lobbies and atriums where the closest viewer is at the reception desk or several metres into the space, a P2.6 or P3.9 typically hits the right balance between image quality and cabinet cost. For a corporate boardroom where people sit close to the screen, a finer pitch such as P1.5 or P1.9 will keep text and presentation slides sharp. For a retail wall where the goal is brand video at a distance of three to five metres, P2.9 or P3.9 is usually the practical range. See the full specification tables on the indoor LED screen product page.
For installations where viewers will be at arm's length — control rooms, broadcast suites, premium boardrooms — consider the fine-pitch HD wall range, which takes pixel pitch down further.
Match Brightness to the Room, Not the Max Spec
More nits is not always better. An overly bright screen in a dim room is harsh to look at, wastes power, and ages the LEDs faster.
ARECH's indoor fixed cabinets are available across a brightness range that maps to real room conditions:
- 500 nits — dim or mood-lit retail spaces, reception areas with controlled ambient light.
- 1,000 nits — a normally lit office or corporate lobby with ceiling fluorescents and some daylight from windows.
- 3,500 nits — semi-outdoor positions: an atrium with skylights, a ground-floor window storefront, or any space where direct sunlight hits the screen for part of the day.
Match the nits spec to the worst-case ambient light the screen will face in normal operation. If in doubt, the install team can take a lux reading at the screen position before the order is placed.
Mounting: Wall, Recessed, or Freestanding
A fixed indoor screen has three common mounting approaches. The choice affects both the aesthetics and the maintenance plan.
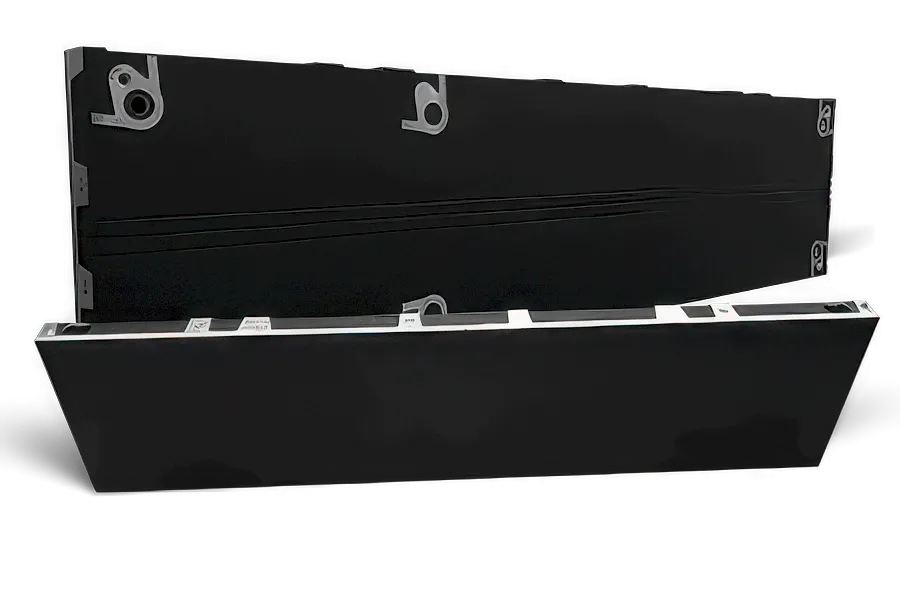
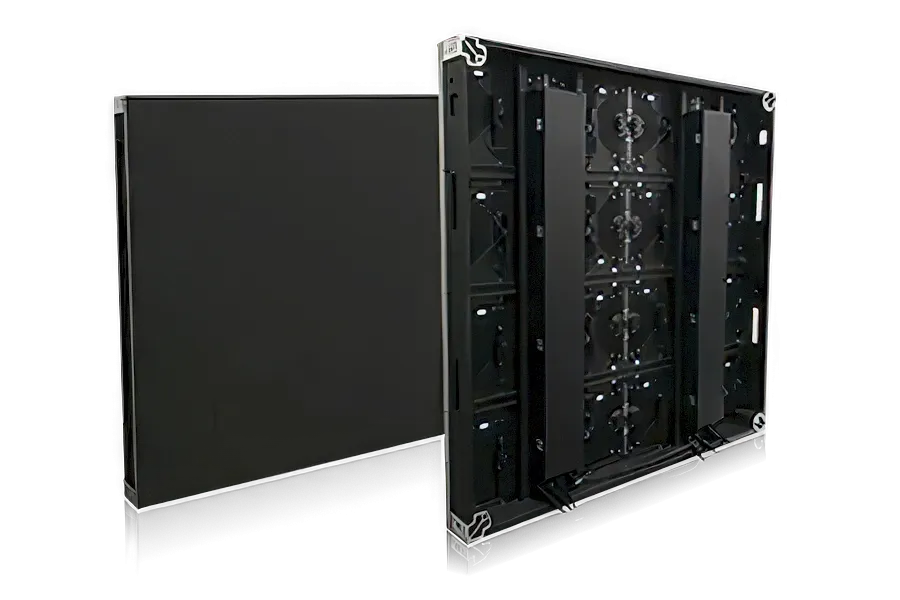
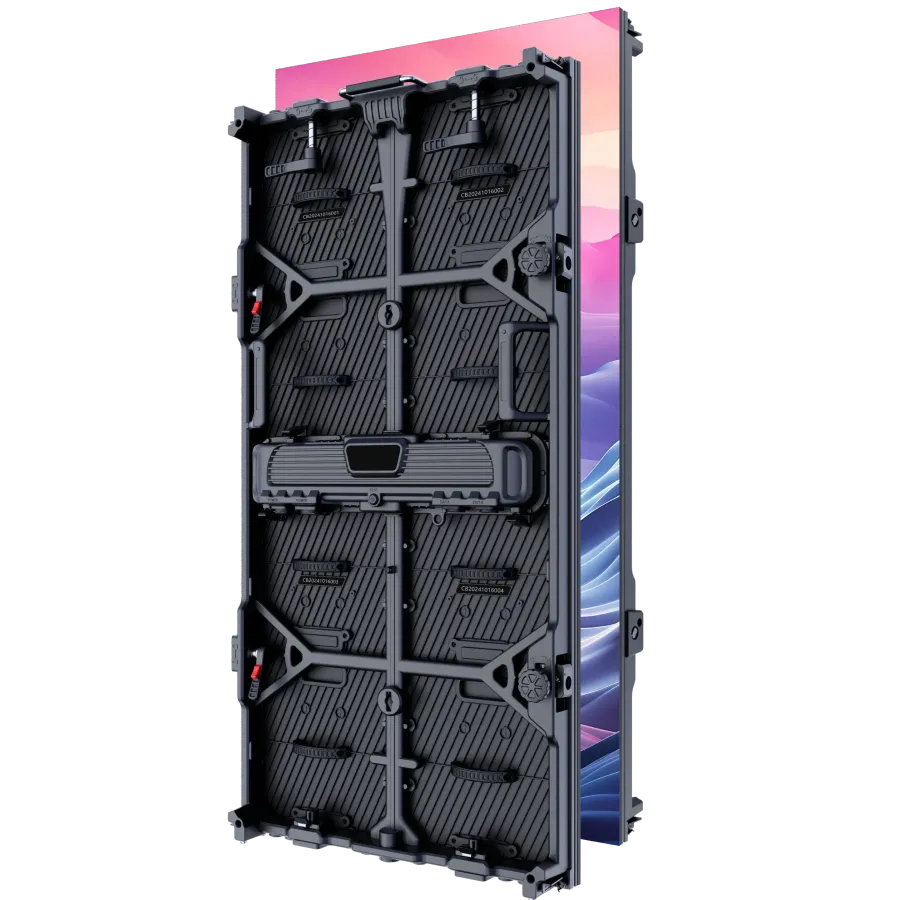
Wall-mounted. Cabinets attach directly to a structural wall or a dedicated sub-frame on the wall. This is the most common configuration for lobbies and retail. ARECH's aluminium alloy cabinets are 40 mm deep and weigh approximately 5.5 kg per 1,000 × 250 mm cabinet, so the load on the wall structure is manageable on most build types. The thin profile means the screen sits close to the wall surface with minimal shadow gap.
Recessed. The screen sits flush with or slightly behind the wall face, with the frame hidden inside a cove or reveal. This gives a cleaner architectural finish but requires coordination with the joinery or drywall work before the screen arrives. Allow adequate depth in the recess for the cabinets plus service clearance.
Freestanding. Free-standing frames work for installations where wall attachment is not possible — rented spaces, temporary-to-permanent conversions, or screens that may be repositioned. The frame engineering is separate from the screen specification.
Whichever approach you use, confirm the sub-frame or mounting surface is level and plumb before the first cabinet goes up. Shimming a partially installed screen is much harder than shimming an empty frame.
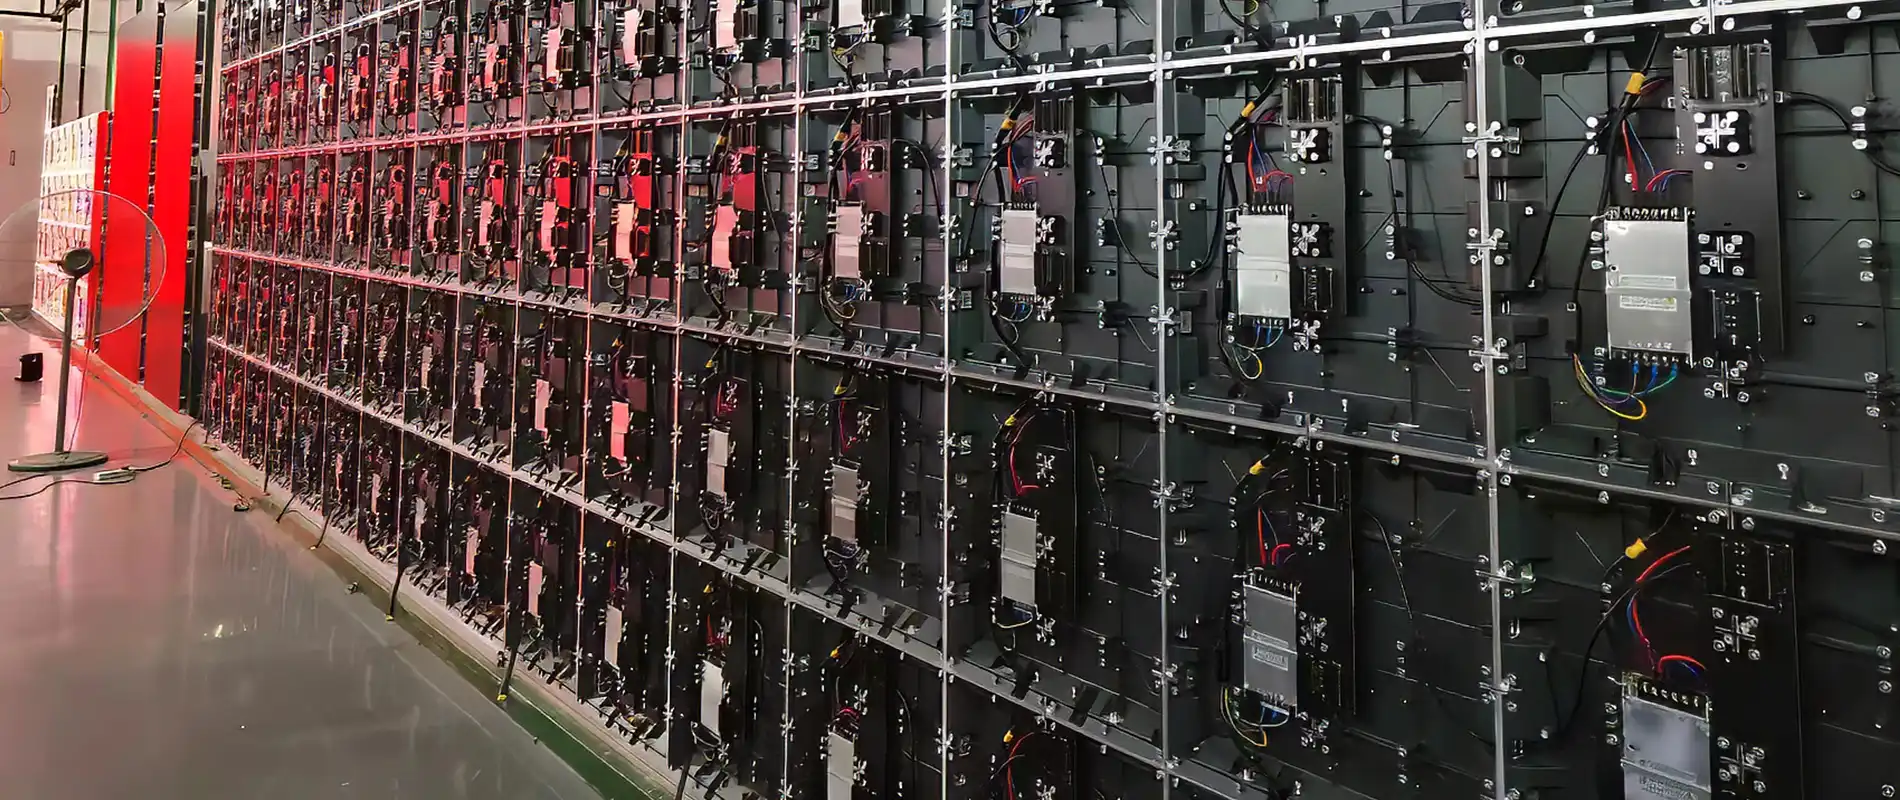
Front Service Access Changes Everything
On a wall-mounted fixed screen, how you service it matters more than most buyers realise until the first module swap.
ARECH's indoor fixed panels are designed for full front maintenance. Modules, power boxes, and receiving cards are all removable from the front face using a magnetic tool — no need to pull the cabinets off the wall, no need to access the back of the structure. A faulty module is typically out and replaced in minutes.
This has a direct impact on the installation design. If the screen is recessed into a wall or mounted in a tight bay, rear access may be physically impossible anyway — front serviceability removes that as a concern. For a screen mounted against a solid structural wall with no void behind it, front-service design is not a preference, it is a requirement.
When reviewing manufacturer specifications, confirm that modules, power supplies, and receiving cards are all front-removable as a complete set. A screen where the modules come out from the front but the power supplies require rear access is not a fully front-service design.
Power, Data, and Content Planning
The physical installation is half the job. The other half is making sure the screen has clean power, a reliable data signal, and a content system that the operator can actually use.
Power. Fixed indoor LED walls run on AC power distributed to each cabinet. Plan the circuit load based on the number of cabinets. A dedicated circuit per row or per section — rather than a shared branch circuit — avoids tripping breakers during peak brightness moments. The building's electrical contractor should confirm the circuit capacity matches the display configuration before delivery.
Data signal. The screen receives its signal from a media player or a video controller. The signal run from the controller to the first cabinet should be kept as short as practical; fibre extension is available for longer runs. Plan the controller location during the structural stage so the conduit goes in before the walls are closed.
Content system. For a lobby screen showing brand video or a departure board, a dedicated media player on a simple schedule is usually enough. For a retail screen that needs to show different content by time of day or by product zone, a content management system with remote scheduling capability is worth the extra spend — reloading USB drives on a ladder is not a sustainable operations model. Define who updates the content and how often before the project goes to tender.
Acceptance and Calibration on Handover
Before the installer leaves, run a structured acceptance check. A handover that skips this step often surfaces problems weeks later when the facilities team notices something the installer would have caught on the day.
- Full-white and full-black test. Full white reveals dead or dim pixels. Full black shows any hot pixels or stuck LEDs.
- Colour uniformity check. Display a solid colour field — grey works well — across the whole screen and look for visible seams or brightness variation between cabinets. Some variation between modules is normal; visible banding between cabinet edges is not.
- Geometry test. Display a fine grid or a test pattern with straight vertical and horizontal lines. Check that cabinet edges align and that no cabinet is visibly proud or recessed relative to its neighbours.
- Content system handover. Walk the facilities contact through loading and scheduling content. Confirm they have the login credentials, the manual, and a support contact number before the install team leaves site.
The ARECH indoor LED screen specifications and downloadable datasheets from the product range cover the panel specs needed for the acceptance documentation.
CONTINUE READING
More from the blog
-
How ARECH's LED Display Warranty Works: 2 or 3 Years, and What Decides It
How ARECH's LED Display Warranty Works: why the term is 2 or 3 years depending on the LED chip, what is excluded, and…
-
Inside the Ageing Chamber: Every Cabinet is tested
Inside the Ageing Chamber: Every ARECH LED cabinet runs an ageing-chamber burn-in cycle before pack-out.
-

Curved and Flexible LED: How It Bends and Where It Fits
Curved and Flexible LED: How bend into columns, domes, and sculptural shapes, why magnetic mounting makes them…
-

What ARECH's LED Display Certifications Mean: CE, FCC, RoHS, ISO 9001, LVD
What ARECH's LED Display Certifications Mean: CE, FCC, RoHS, and ISO 9001, LVD certification each cover on an LED…
-

Indoor vs Outdoor LED Displays: How to Choose the Right One
Indoor vs Outdoor LED Displays: differ in brightness, weatherproofing, pixel pitch, and cabinet build. Here is how to…
-

Pixel Pitch Explained: Matching an LED Display to Viewing Distance
Pixel Pitch Explained - What pixel pitch means, how it sets minimum viewing distance, and how to pick the right LED…